April Update: Version 2.7 is now live. This minor release is verified to work with 2020LTS and 2021LTS, and latest Bakery. The last few minor releases added better inside/outside rejection for probes in colliders, too.
Hello Unity Developers!
I'm pleased to announce that AutoProbe is ready to help you get high quality lighting onto your dynamic objects quickly and easily. The main features are:
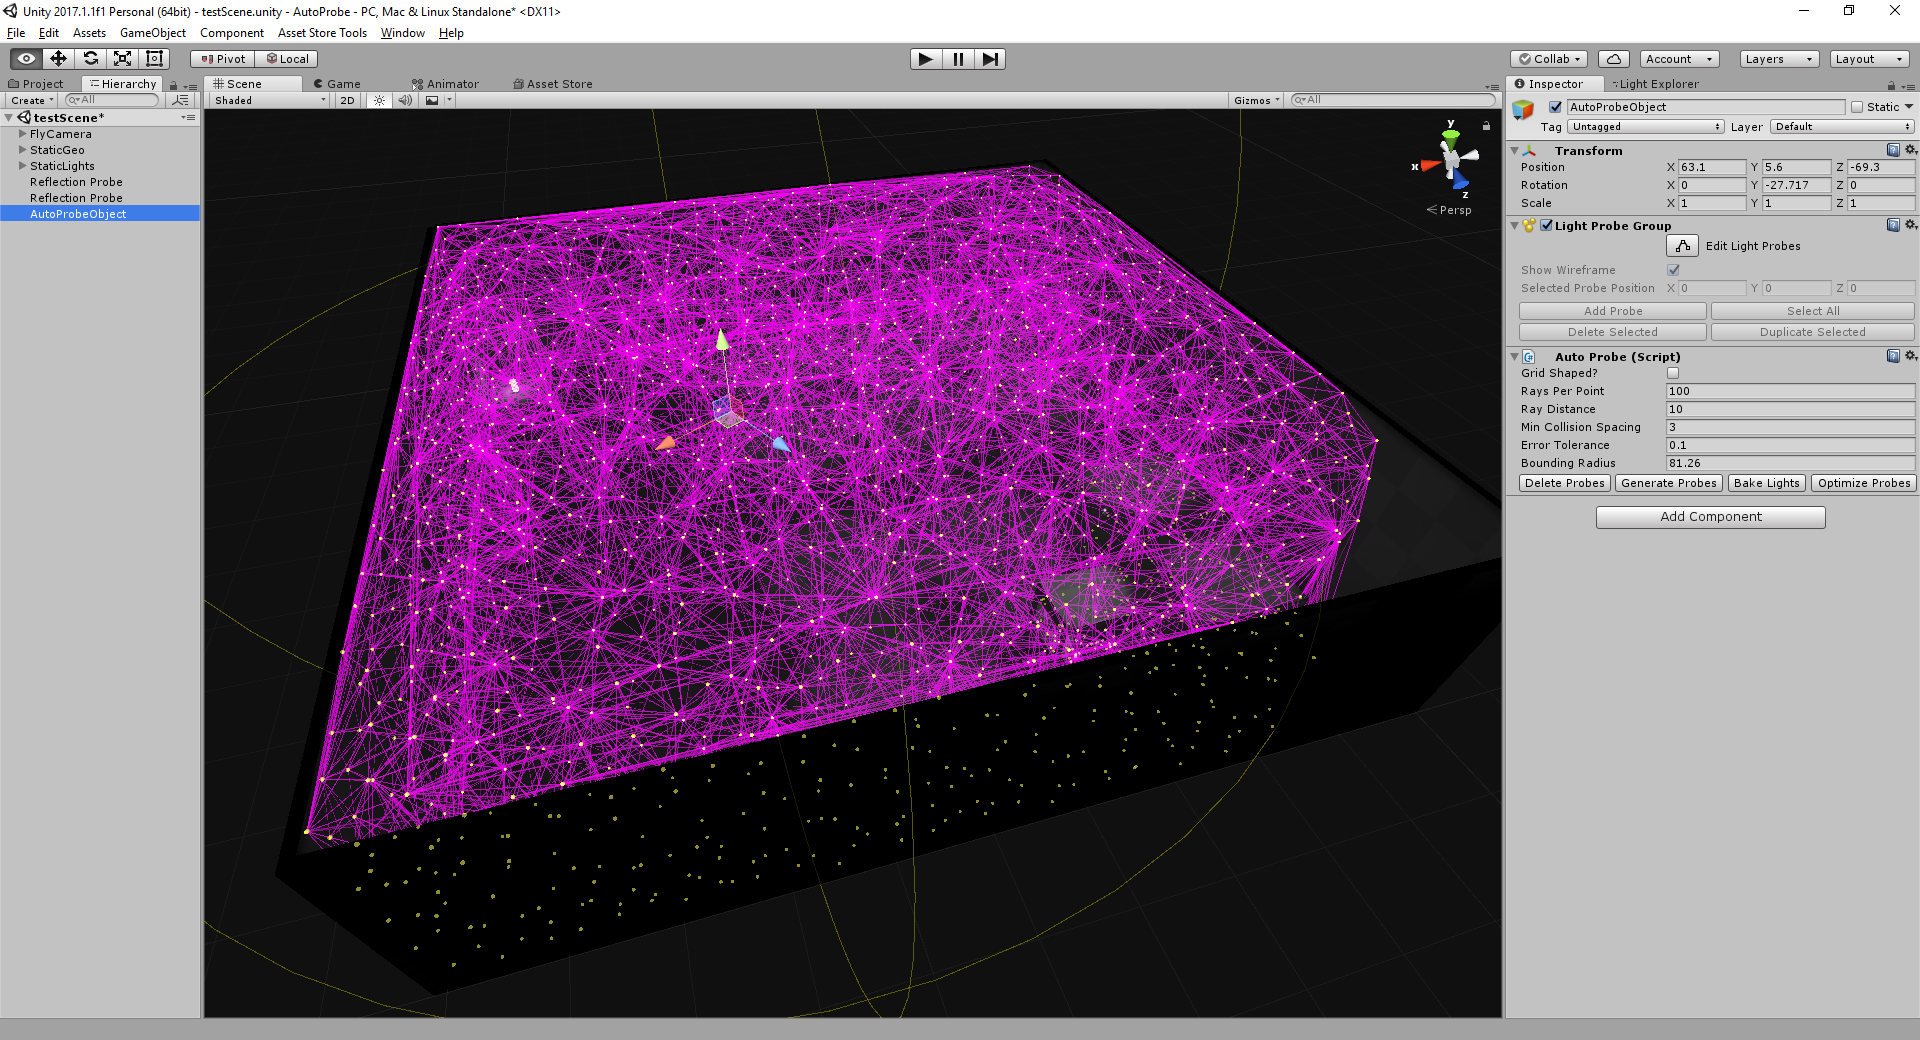
- Automatically generates light probes that conform to your geometry, exploring every nook and cranny.
- You limit the space it explores by placing disabled colliders as children, using familiar tools, so your levels don't need to be water-tight or even have ceilings.
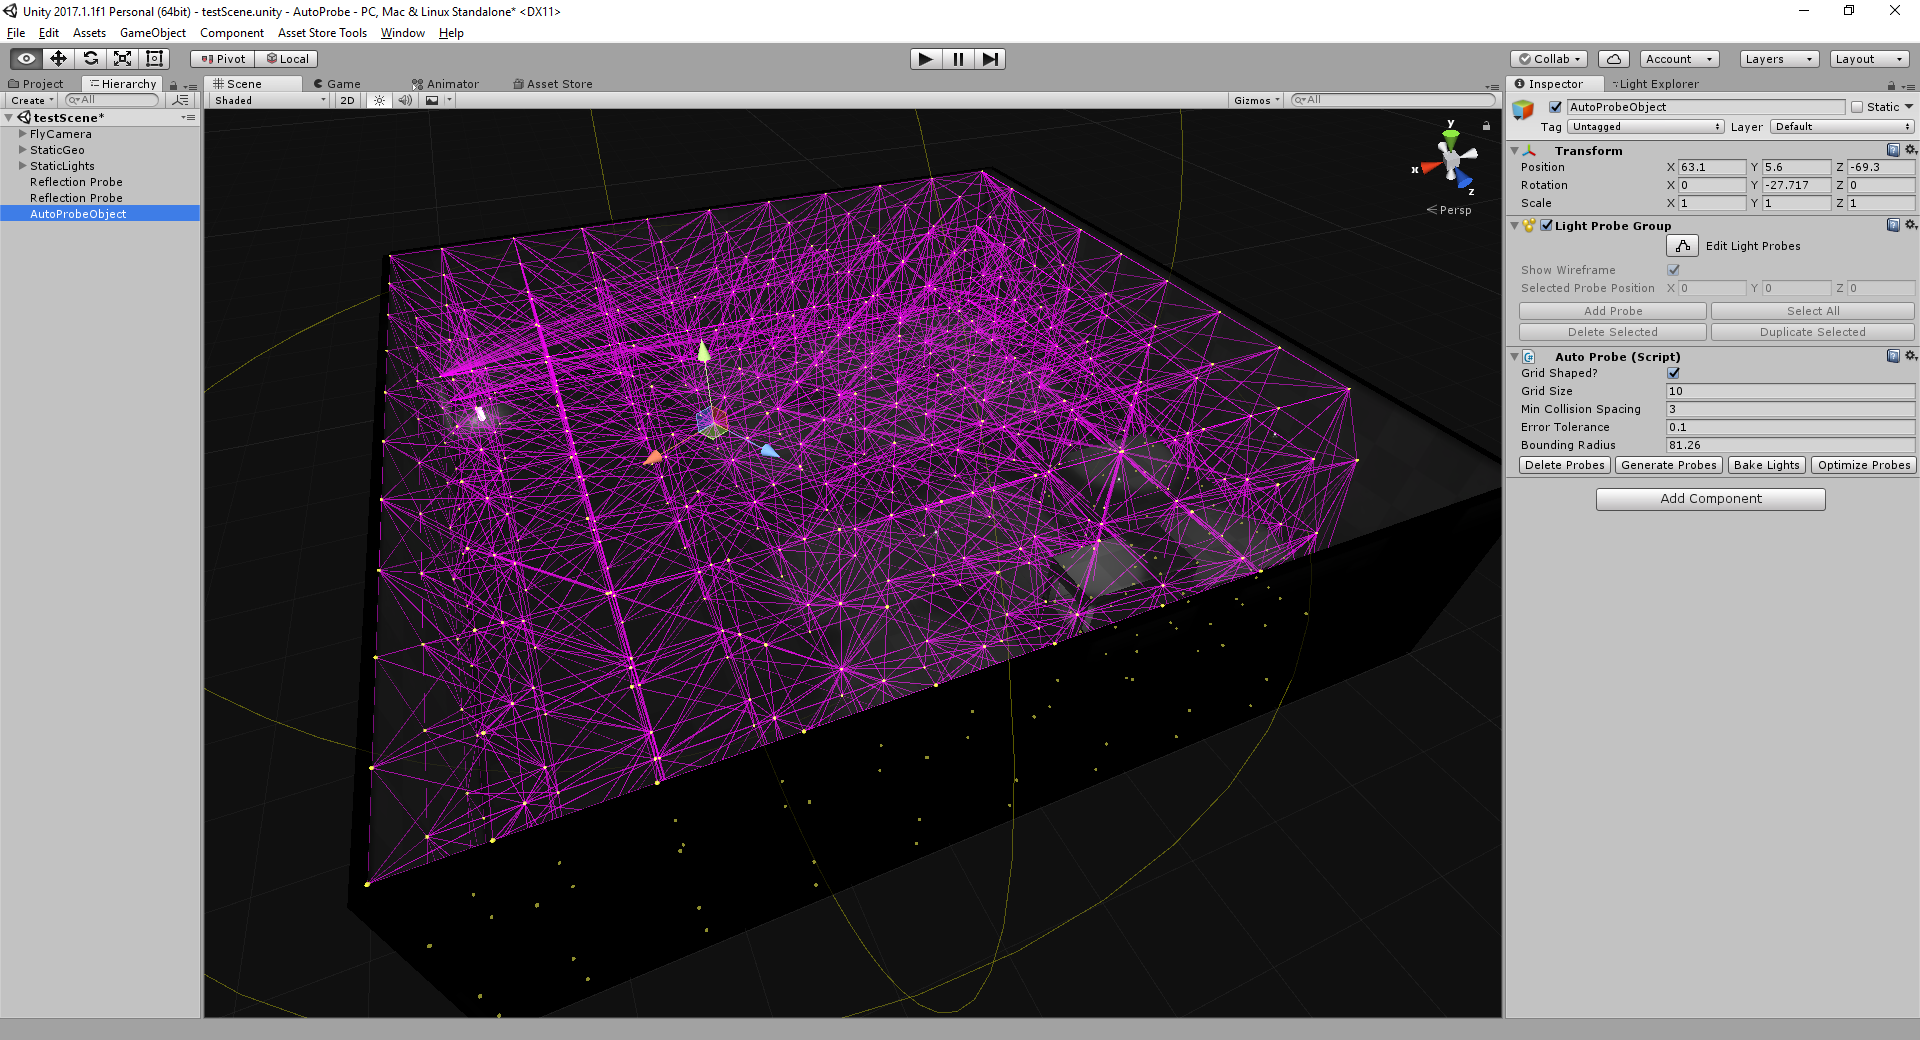
- Quickly generate probes from your existing meshes or terrain, setting a height for how "thick" you want the dynamic lighting to sample above the meshes. Building outdoor environment lighting is so simple now!
- Custom Inspector has shortcut buttons to start and stop light bakes, so it's easy to rapidly iterate and check your work.
- Fully integrated with Bakery to make light probe regeneration as fast as possible.
And most importantly, what no other similar package has:
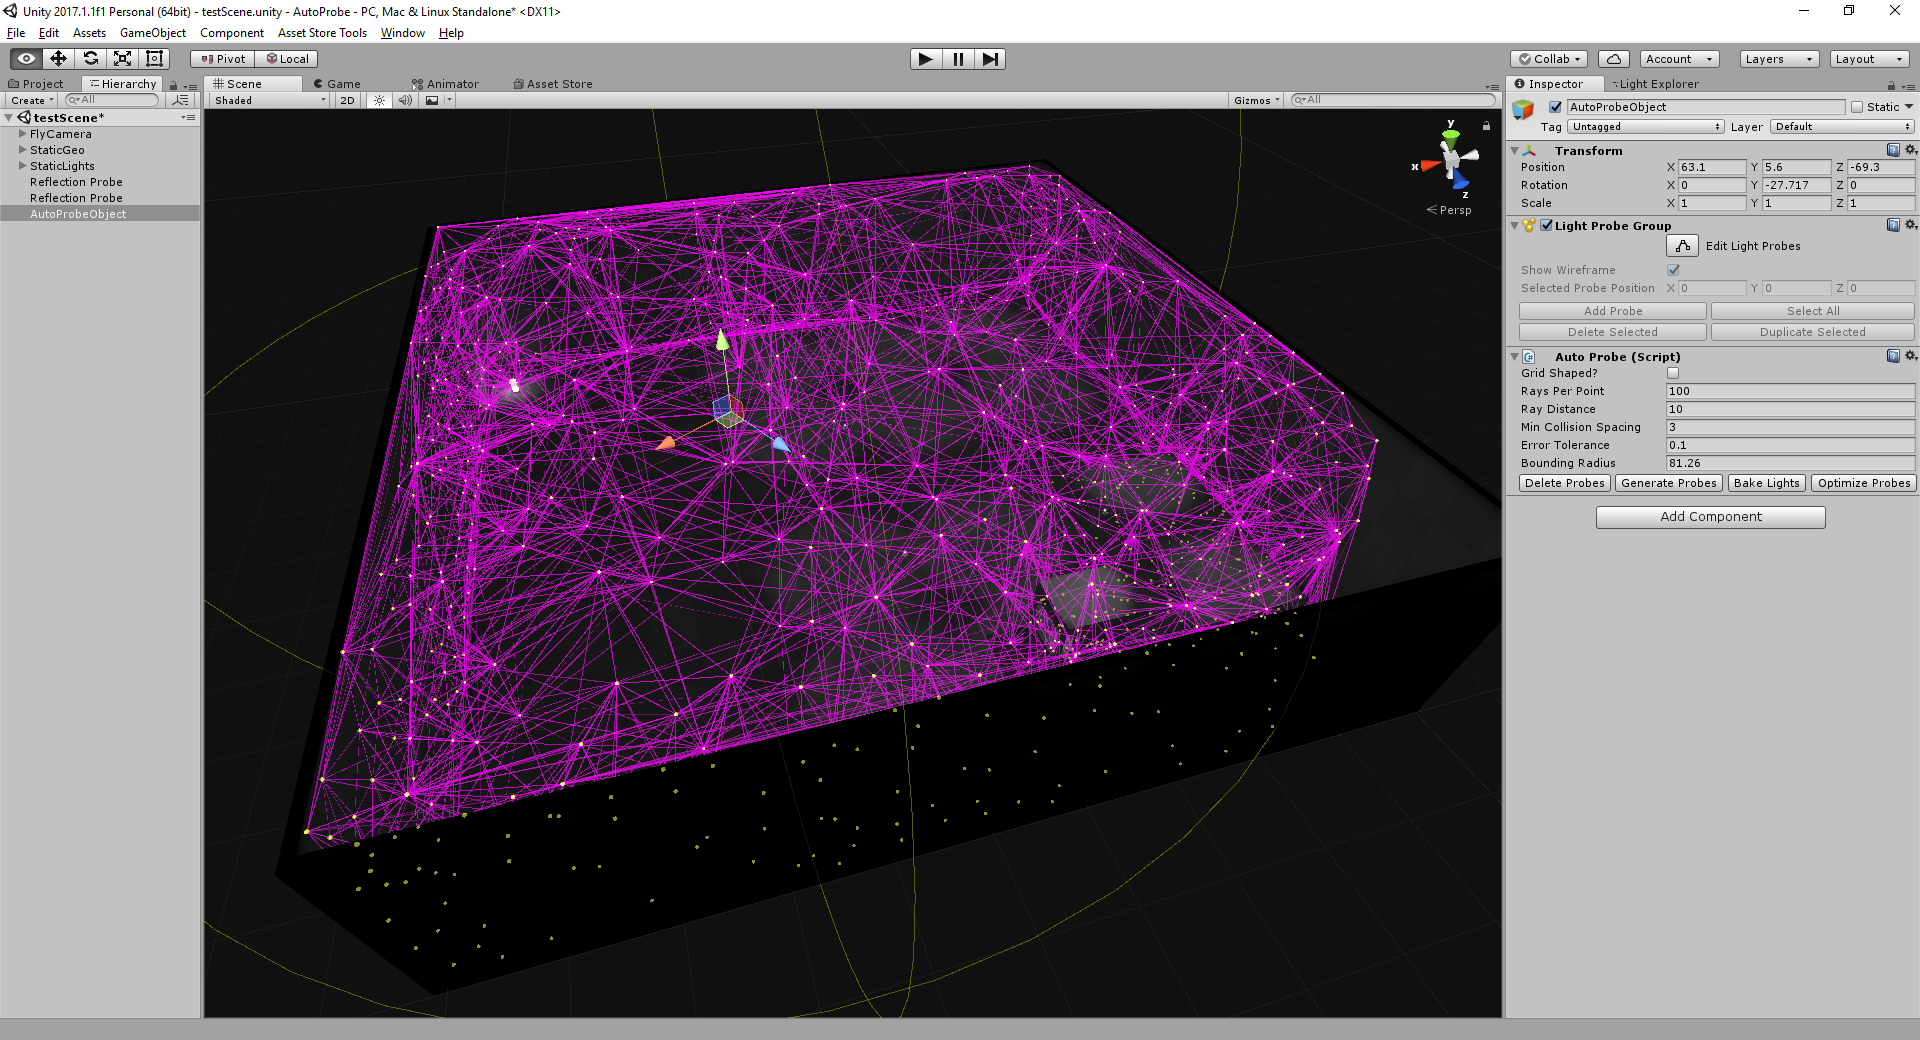
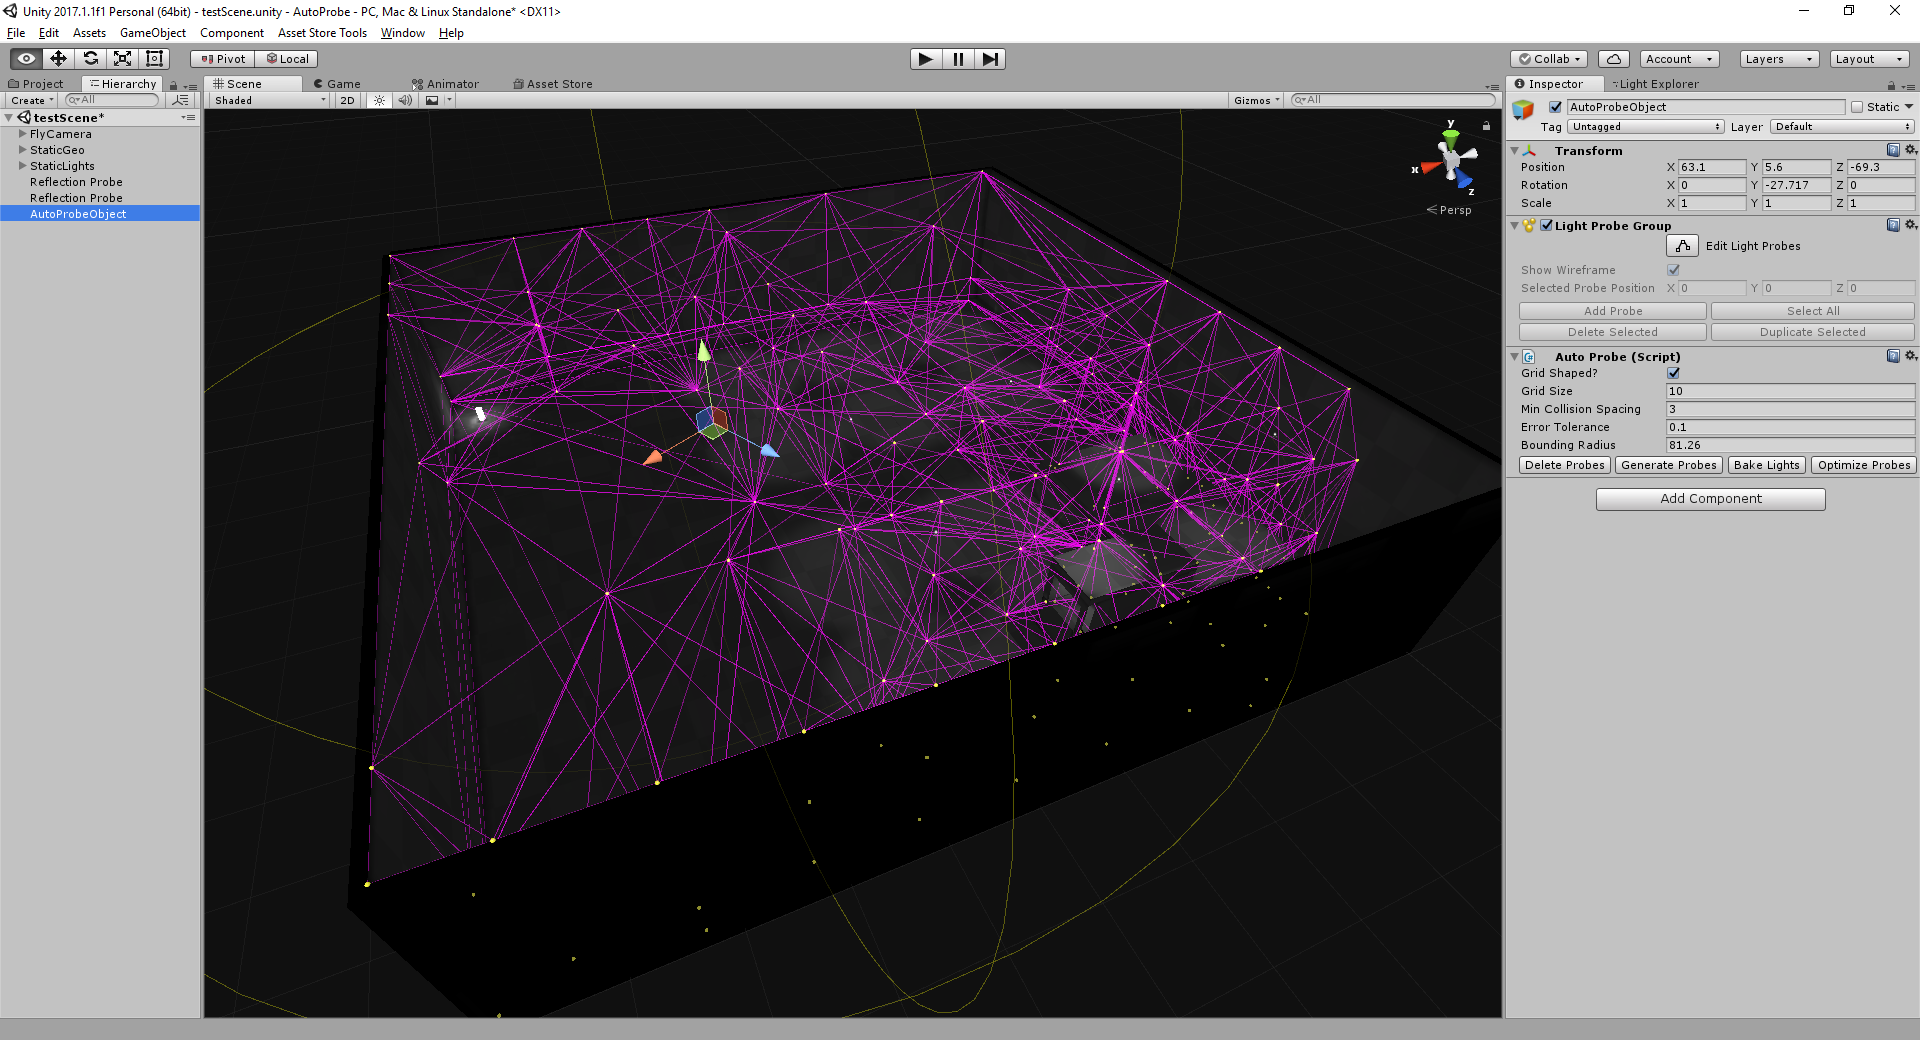
- One click will optimize all the light probes in a single light probe group (even if it's been generated by hand or with a competing package). Just add the AutoProbe component to the same object that has the light probe group on it. When you click Optimize, AutoProbe rigorously detects unnecessary probes and removes them, reducing your data set and removing flicker from dynamic objects indirect lighting. If you want to approach AAA quality, you will want this.
Link to the Asset: https://www.assetstore.unity3d.com/#!/content/105295
How do I organize scenes with AutoProbe?
As with most hard problems, the answer is... it depends.
- Simple levels that only have one scene in them, you simply light your level and drop one AutoProbe component into your scene and you'll be fine. The spawning of probes will take a few seconds, the baking of your lighting will take much longer, then the optimization will take a minute or so. When you load that level in-game, all your objects will be lit nicely as they move around by picking up the dynamic lighting from the light probe set.
- However, you might find that your one level is rather large, and if you're changing the sizes of rooms or changing the terrain frequently, perhaps having a different AutoProbe per room is convenient. Each one can independently function while editing, and when Unity writes out the final scene, it automatically combines all probe sets in the level into a single unified set when you hit play (or produce a build). Just make sure that the light probe regions overlap just enough that you don't end up with odd gaps between rooms or hallways.
- Larger, more complex games that are composed of many different scenes have it rough. Although you can have probe sets in various scenes, after loading them you have to explicitly call the
LightProbes.TetrahedralizeAsyncfunction to kick off the merging operation. Be aware that you still have to have light maps to generate light probes effectively in most cases, so partitioning lighting is still not a trivial affair, as lightmaps from adjacent areas probably do affect your lighting somewhat. Even so, if you are interested in going down an additive scene approach, where parts of a level can be broken into different scenes, consider using my other asset called SplitScenes to manage the loading. It comes with an example of how to set up trigger-based loads, among other features.
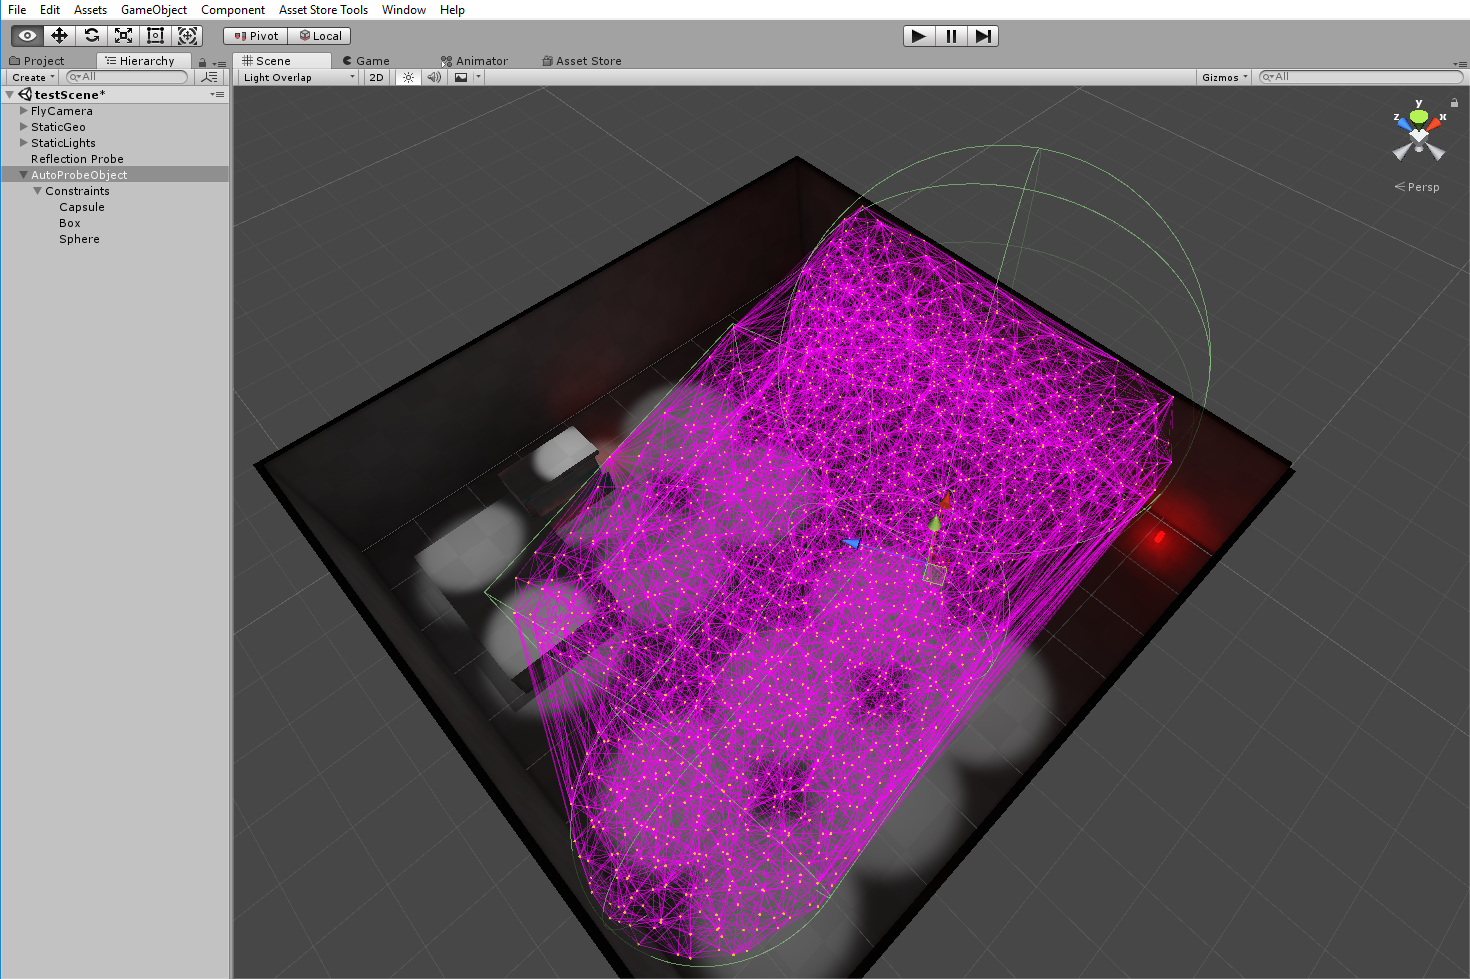
Here's some screenshots: