
I have spent the last few months playing with Kubernetes on my home lab. The fact that it's all bare metal adds some significant challenges, since the cloud providers have specific drivers for their load balancers. Bringing it all together in one place, though, here's a quick rundown of my setup, which I think is pretty trick.
Git, Curl and Kubectl
A side note about process: Rather than blindly launching declarations into my cluster, I recommend curl-ing them down, add them to Git, checking looking at diffs if they've changed, and kubectl apply -f them only after you're happy with the changes a package makes to your system. This gives you a highly reproducible configuration. Since I've had to tear down and rebuild my cluster about 8 times already, due to my own stupidity mostly, it's been handy.
MetalLB
I love this project. This emulates having a hardware load balancer, but in software. With smarter routers that speak BGP, you can actually configure the router to "BGP ping" your nodes for availability and automatically load balance between the ones that are up. MetalLB is the software that answers those pings, when in BGP mode.
I pretty much just use this as-is, except I append a configmap section to the bottom of the file, so I have a single command that spins up the software load balancer. Simply curl down the yaml manifest, and append a block that looks like this:
---
apiVersion: v1
data:
  config: |
    peers:
    - peer-address: 10.0.0.1
      peer-asn: 64512
      my-asn: 64512
    address-pools:
    - name: bgp
      protocol: bgp
      addresses:
      - 10.10.10.50-10.10.10.60
      avoid-buggy-ips: true
kind: ConfigMap
metadata:
  name: config
  namespace: metallb-system
Let me annotate the above block. My router address is 10.0.0.1 and the addresses I've blocked out for MetalLB to assign to Ingress objects is the range 10.10.10.50-10.10.10.60, although I'm guessing right now that one Ingress is all you'll ever want configured. Once you have an Ingress set up, it will grab an IP address and serve traffic from one of these IPs.
$ kubectl get ingress

NAME             HOSTS                ADDRESS       PORTS     AGE
reachablegames   reachablegames.com   10.10.10.50   80, 443   2d2h
Ubiquiti Security Gateway
Great. So, MetalLB wants to communicate with the router but your router has to be configured to listen. In my case, I have a USG firewall/router. It's smart, but the web UI is missing some of these advanced features. There's two ways to configure the router to speak BGP. The quick, but wrong way, which you'll find all over the internet. And the right way. I'll present both.
The Wrong Way
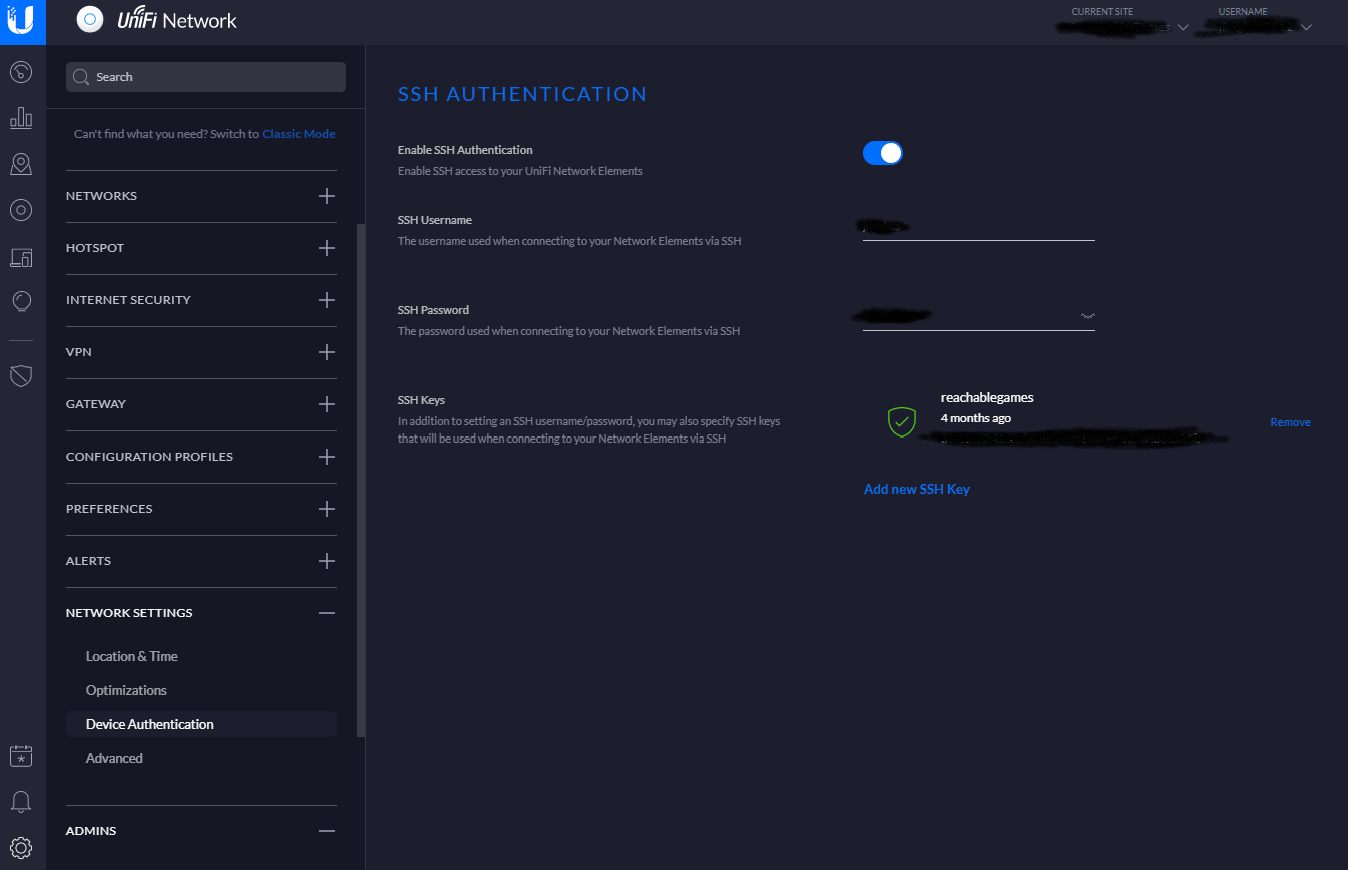
First, you have to get SSH access to the router. You can do that in the Unifi Controller as indicated in the image below. I set mine up with an .ssh/config so I just ssh to the IP of the box and it does the RSA key exchange. Very sexy.
Once you are sitting at the user@USG:~$ prompt, run the following commands:
show ip bgp
configure
set protocols bgp 64512 parameters router-id 10.0.0.1
set protocols bgp 64512 neighbor 10.0.0.240 remote-as 64512
set protocols bgp 64512 neighbor 10.0.0.241 remote-as 64512
set protocols bgp 64512 neighbor 10.0.0.242 remote-as 64512
show protocols bgp
commit
save
exit
show ip bgp
Note, this is explicitly telling the router the IP addresses of each of your nodes. In my case, I have 3 nodes with addresses at 10.0.0.240 through 10.0.0.242. Change this to suit your actual configuration. Also, you may need to repeat the last command for about a minute until the router finishes provisioning the protocol and MetalLB starts responding. When it is hooked up, it will look like this:
username@USG:~$ show ip bgp
BGP table version is 0, local router ID is 10.0.0.1
Status codes: s suppressed, d damped, h history, * valid, > best, i - internal,
              r RIB-failure, S Stale, R Removed
Origin codes: i - IGP, e - EGP, ? - incomplete

   Network          Next Hop            Metric LocPrf Weight Path
* i10.10.10.50/32   10.0.0.242                      0      0 ?
*>i                 10.0.0.240                      0      0 ?
* i                 10.0.0.241                      0      0 ?

Total number of prefixes 1
So, yeah, this works. However, it's the wrong way to do it. The commands are exactly right, but every time anything happens and your USG re-provisions for any reason, this is lost and you have zero connectivity. Meaning, you get to hop to it and re-run these commands every time you change anything in the Unifi Controller, like a port forward setting. That's a massive pain in the ass.
The Right Way
I run the Unifi Controller in a docker container, and it stays up all the time. I have that set up like so:
docker run -t --restart=unless-stopped -d -v /opt/docker/unifi:/config --name=unifi -e PUID=1000 -e PGID=1000 -e MEM_LIMIT=1024M -p 3478:3478/udp -p 10001:10001/udp -p 8080:8080 -p 8081:8081 -p 8443:8443 -p 8843:8843 -p 8880:8880 -p 6789:6789 linuxserver/unifi-controller:latestIf you happen to run your USG somewhere else and want to run it in docker, you can export the settings to a backup, then import the backup into your docker container, and woohoo you now are controlling your setup from the docker container.
Interestingly, the USG has the ability to slurp up configuration data in .json format from this path: data/sites/<sitename>/gateway.config.json In my case, I only have a default site, so mine looks like data/sites/default/gateway.config.json but if you have several, see this page for details. Note, this folder and file will not exist, so you have to create them, trivially, in the folder you've mounted in docker. Apparently, you can also go into the VM disk and put it there, if you can find it. I think it's under /srv/ by default. Anyway, the contents of the file should look like this:
/opt/docker/unifi/data/sites/default$ cat config.gateway.json
{
        "protocols":
        {
                "bgp":
                {
                        "64512":
                        {
                                "neighbor":
                                {
                                        "10.0.0.240":
                                        {
                                                "remote-as": "64512"
                                        },
                                        "10.0.0.241":
                                        {
                                                "remote-as": "64512"
                                        },
                                        "10.0.0.242":
                                        {
                                                "remote-as": "64512"
                                        }
                                },
                                "parameters":
                                {
                                        "router-id": "10.0.0.1"
                                }
                        }
                }
        }
}
Aaaaaaand, we're done. Now, what happens whenever you change anything in your Unifi Controller is it provisions the settings from the Web UI plus any settings in this file. I wouldn't, but if you want to put things in here that the Web UI supports, read the docs carefully.