It's been a very long time since I heard about Kubernetes (also commonly K8s), but never did I find an easy way to build a playground where I could tinker and not worry about the time or effort investment involved. Recently, Windows Subsystem Linux 2 (WSL2) became available for preview to Windows beta testers, so I signed up. Turns out, WSL2 isn't really as close to the metal as I was hoping, and ultimately is a separate process space with a separate network interface, and for all intents and purposes, a relatively fast Linux VM that lives on a Windows box... but without the nicer interfaces that come with VirtualBox or VMWare's offerings. I was hoping for more integration with Windows, so that you could run Linux or Windows code interchangeably. Nope.
Then I found out about Docker Desktop WSL2 Tech Preview, also not production-ready yet as the name implies. It struck me how excellent WSL2 would be for running Docker on Windows, as the typical solution's performance was not great, essentially running a VM in a VM on Windows. Interested, I downloaded the Tech Preview. Now, for those who haven't really used Docker much, the way it works is you can drop into a command prompt and execute Docker CLI commands on your machine, and it sends them to the Docker daemon which executes them. This is just how Docker works in general, which is convenient because it means you can run commands on any machine that has the Docker CLI and the Docker daemon is network reachable, wherever that may be... local, in a VM, or in the cloud. You're just sending commands and it does the work you tell it to do.
Upon installing Docker Desktop WSL2 Tech Preview, I found this wonderful little checkbox in the Settings page of Docker (click on the little whale in the tray):
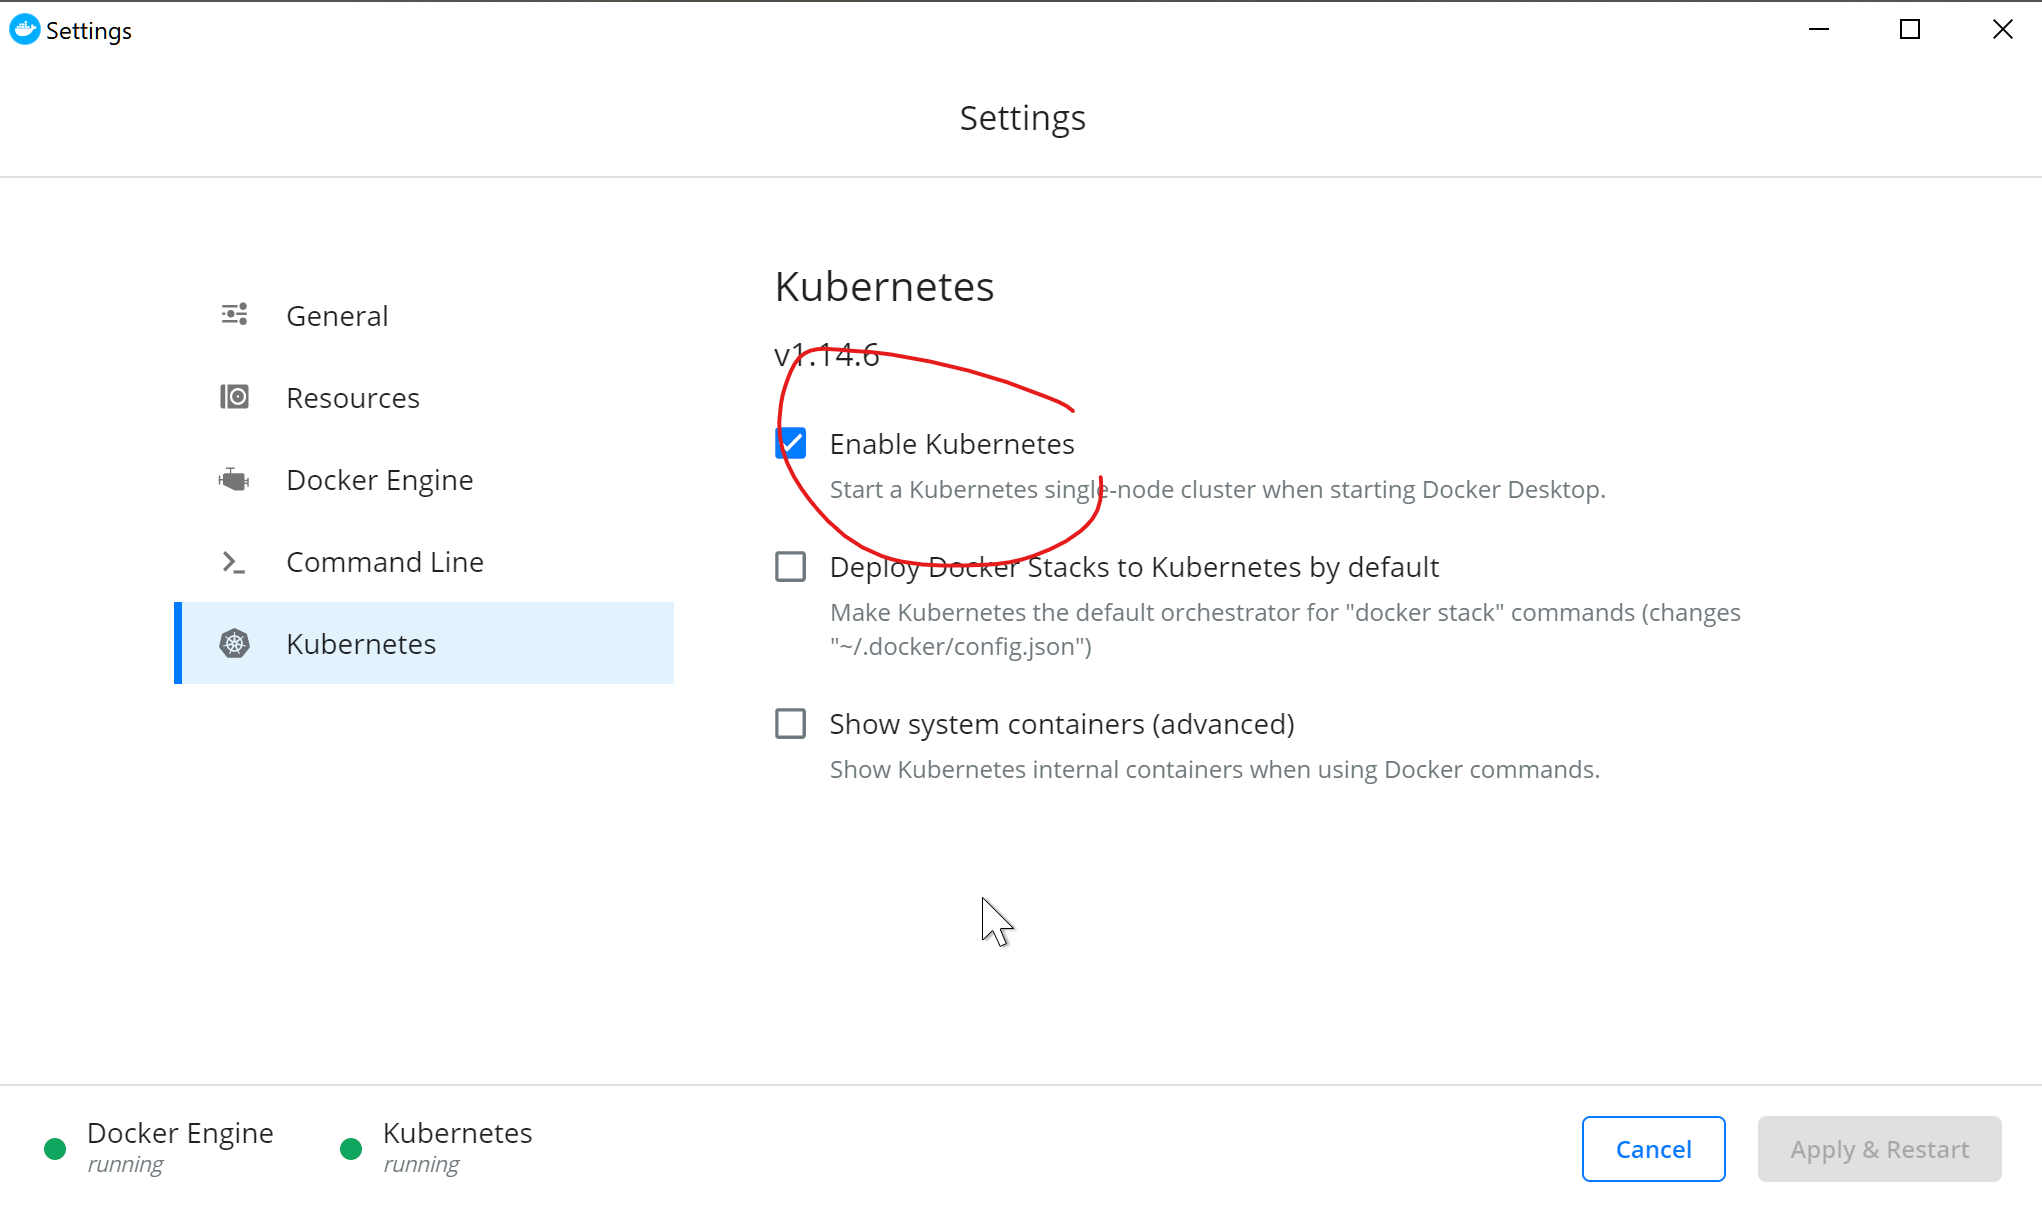
Although I was only planning to play with Docker, it comes with Kubernetes and with a check of a box you've got it installed! Unfortunately, I read that K8s does not run actually inside WSL2, but instead uses the standard Docker Daemon in a separate VM, meaning the performance won't be improved but it is absolutely a great place to learn some K8s. (Note, I am far from an expert in Kubernetes, so if I skip a step or get something terribly wrong, my apologies up front.)
Once you have the K8s installed, check to make sure it's actually running by opening up a temporary port to Kubernetes, which lets you send messages to the K8s API through a local port:
kubectl proxyThen open your browser up and fire away at the K8s API:
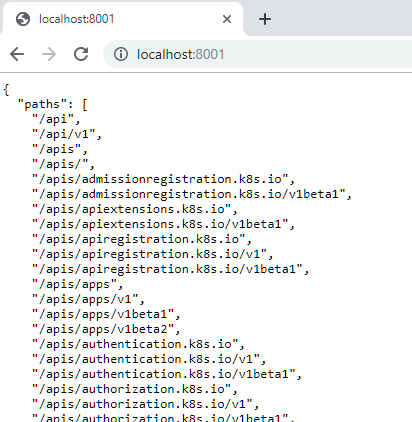
Great! I encourage you to poke around and notice that this is how tools talk to Kubernetes. When you hit one of these endpoints with a browser, it offers you whatever it knows about each endpoint. Very straightforward. Be aware that 8001 is only available on localhost and typically is not used beyond initial setup, as it has no security. The real port for operating a cluster is https://*:6443/, and it requires authentication even to see the root API page.
Now, let's get the Kubernetes Dashboard up and running, so you have a web frontend to see stuff. Like everything K8s, there are many little important steps in this dance. First, tell your install about the dashboard package and set up some service details:
kubectl apply -f https://raw.githubusercontent.com/kubernetes/dashboard/v2.0.0-beta4/aio/deploy/recommended.yamlWhat this has done is enable the dashboard. If you go to this new endpoint now, here's what you get:
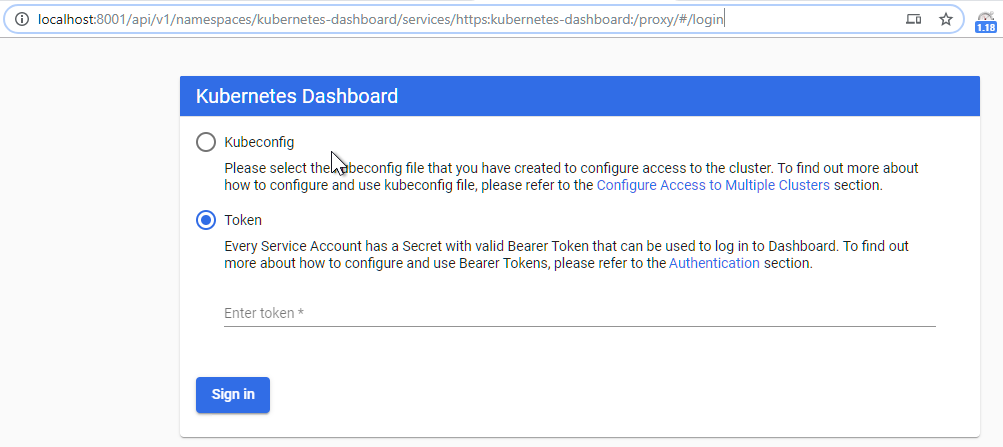
Whoops! No access is granted just because you know the endpoint name. We need a security token to get in, so let's grab one that was created when the dashboard was installed from a service account. Generally, I think you want to create a proper user for yourself, but just to see what the dashboard can do, this will get you in to look:
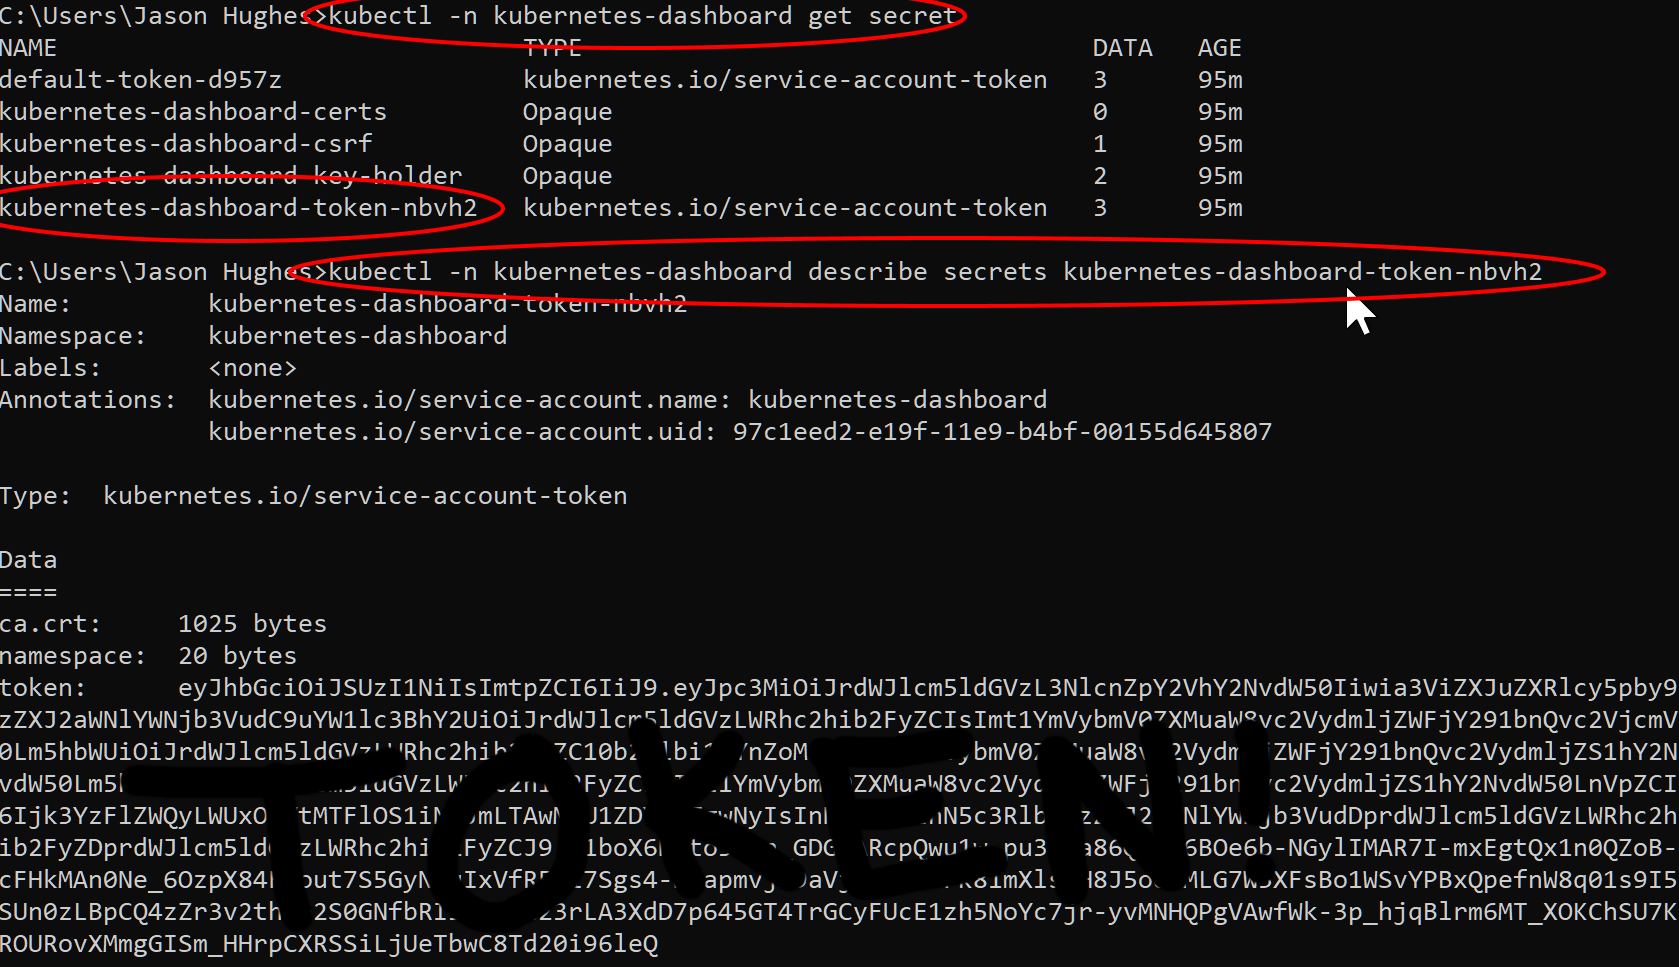
For cut and pasting sake, here's the two commands you will need (careful, the last 5 characters of the second command will be unique for you!):
kubectl -n kubernetes-dashboard get secret

kubectl -n kubernetes-dashboard describe secrets kubernetes-dashboard-token-nbvh2
Then copy the token and paste it into the dashboard page and hit Sign In and you should see this gorgeous screen, probably without the Couchbase stuff in it :
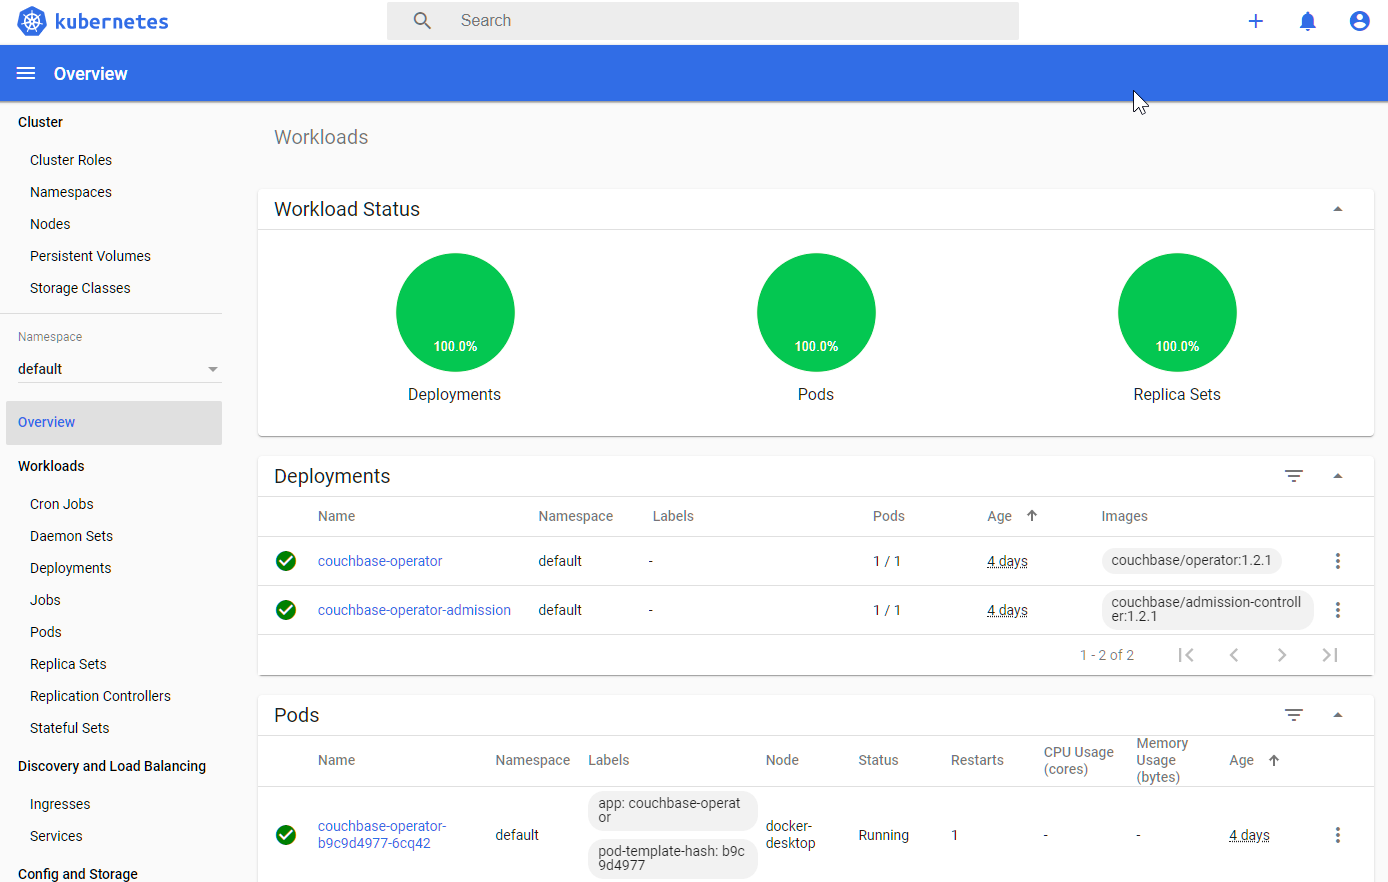
I haven't done it yet, but I suspect the right thing to do is create some user accounts and give them roles. If you've gotten this far, you know as much as I do, and in 1/10th the time.